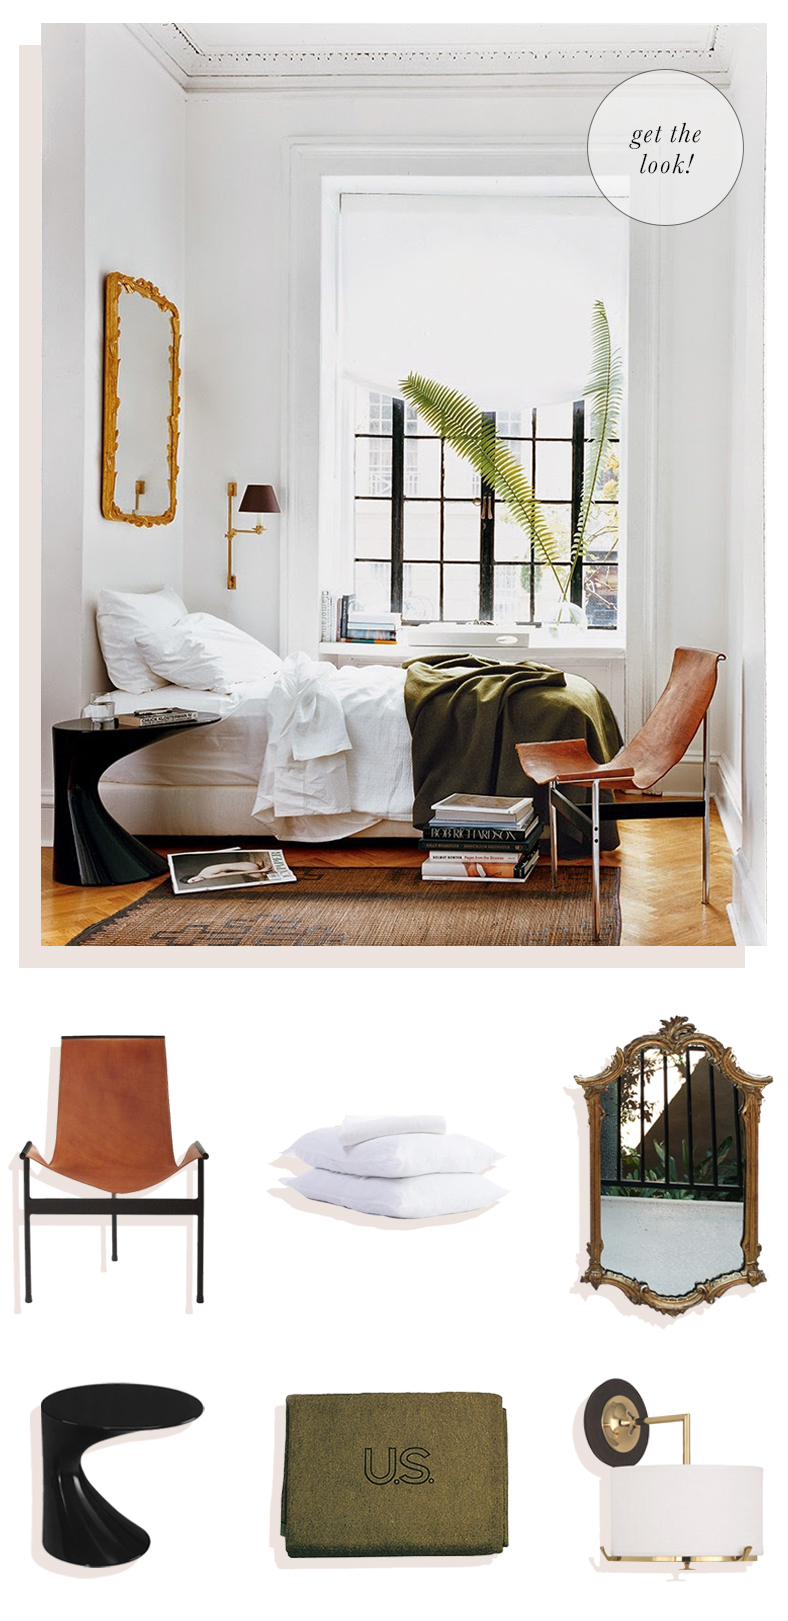
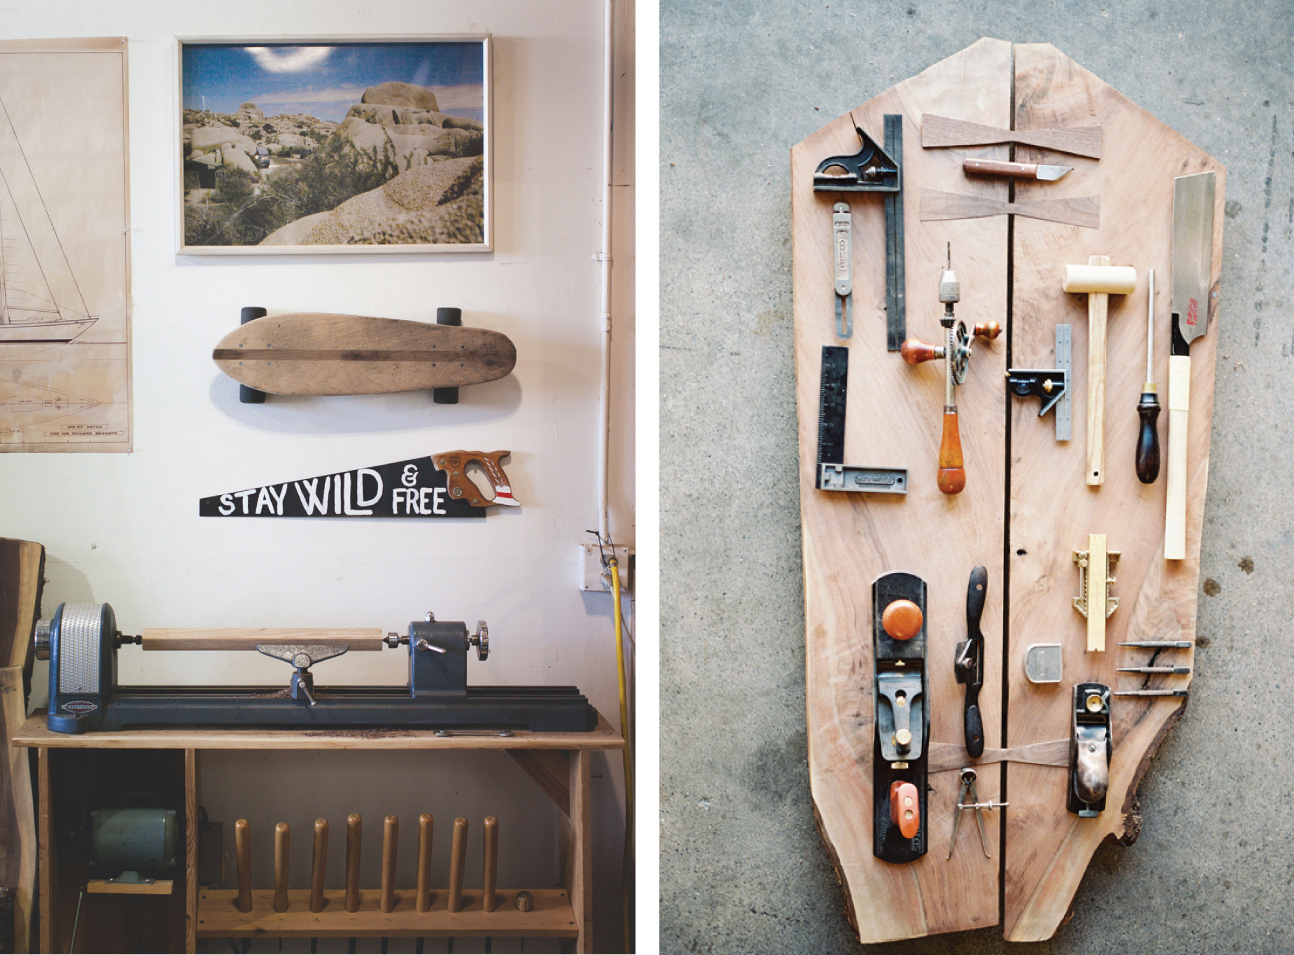
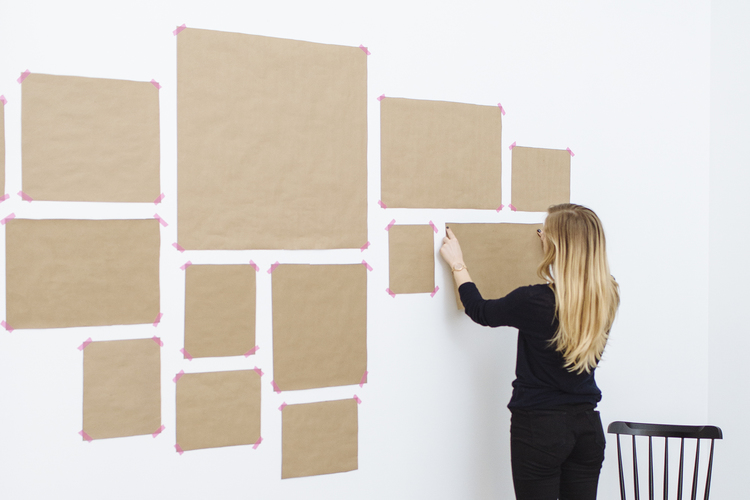
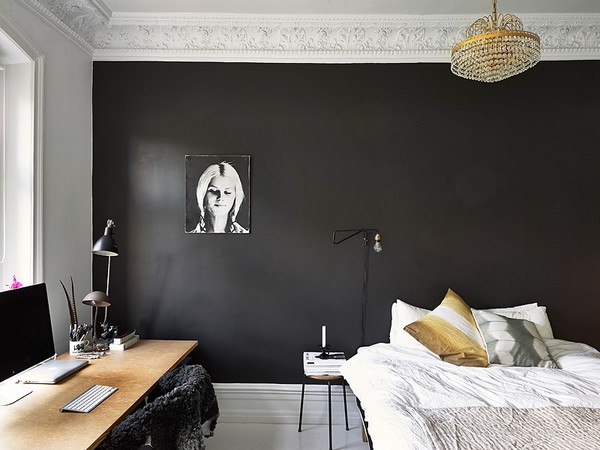
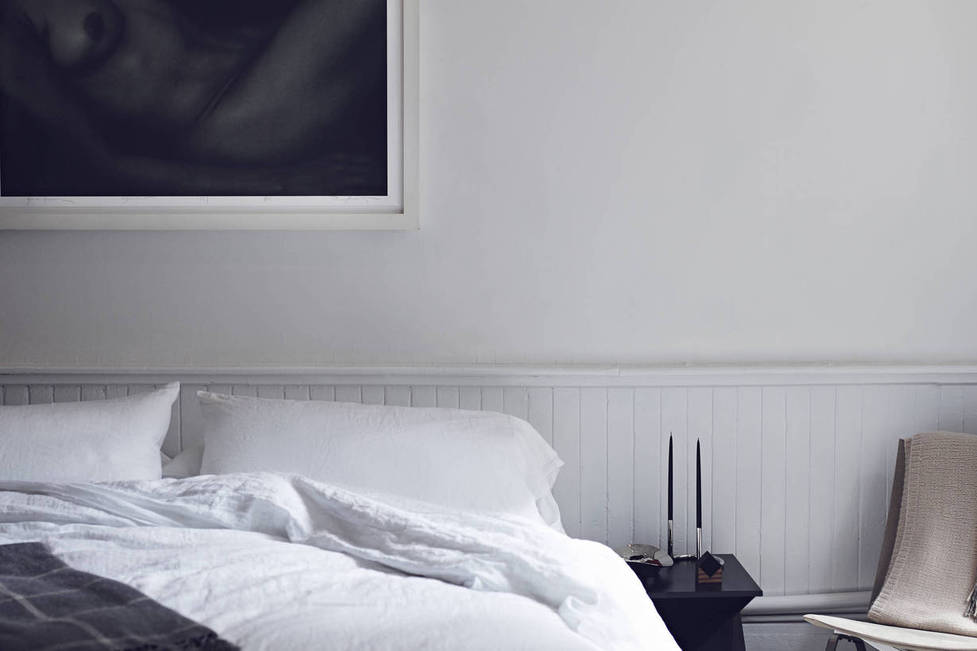
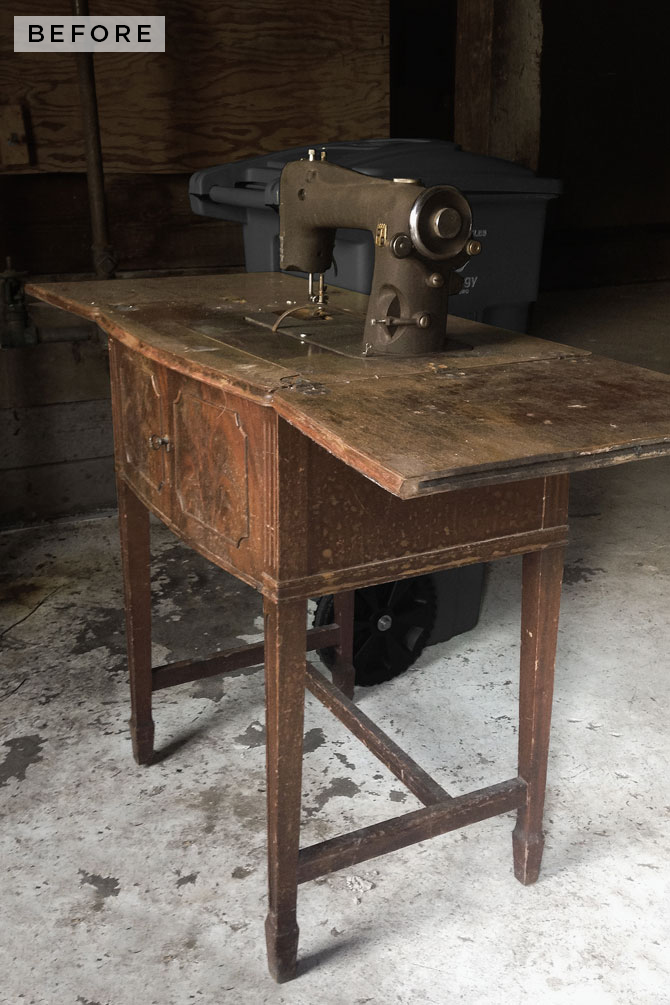
Hi, everyone! Today I wanted to take a moment to tell you about an incredible new resource I've discovered! Being a gal from the South, I am a major believer in the new wave of GOOD DESIGN that is sweeping across the region. The South is known for many things, but beautiful design just isn't the first thing that comes to mind when I think about home. That's all slowly changing, folks.
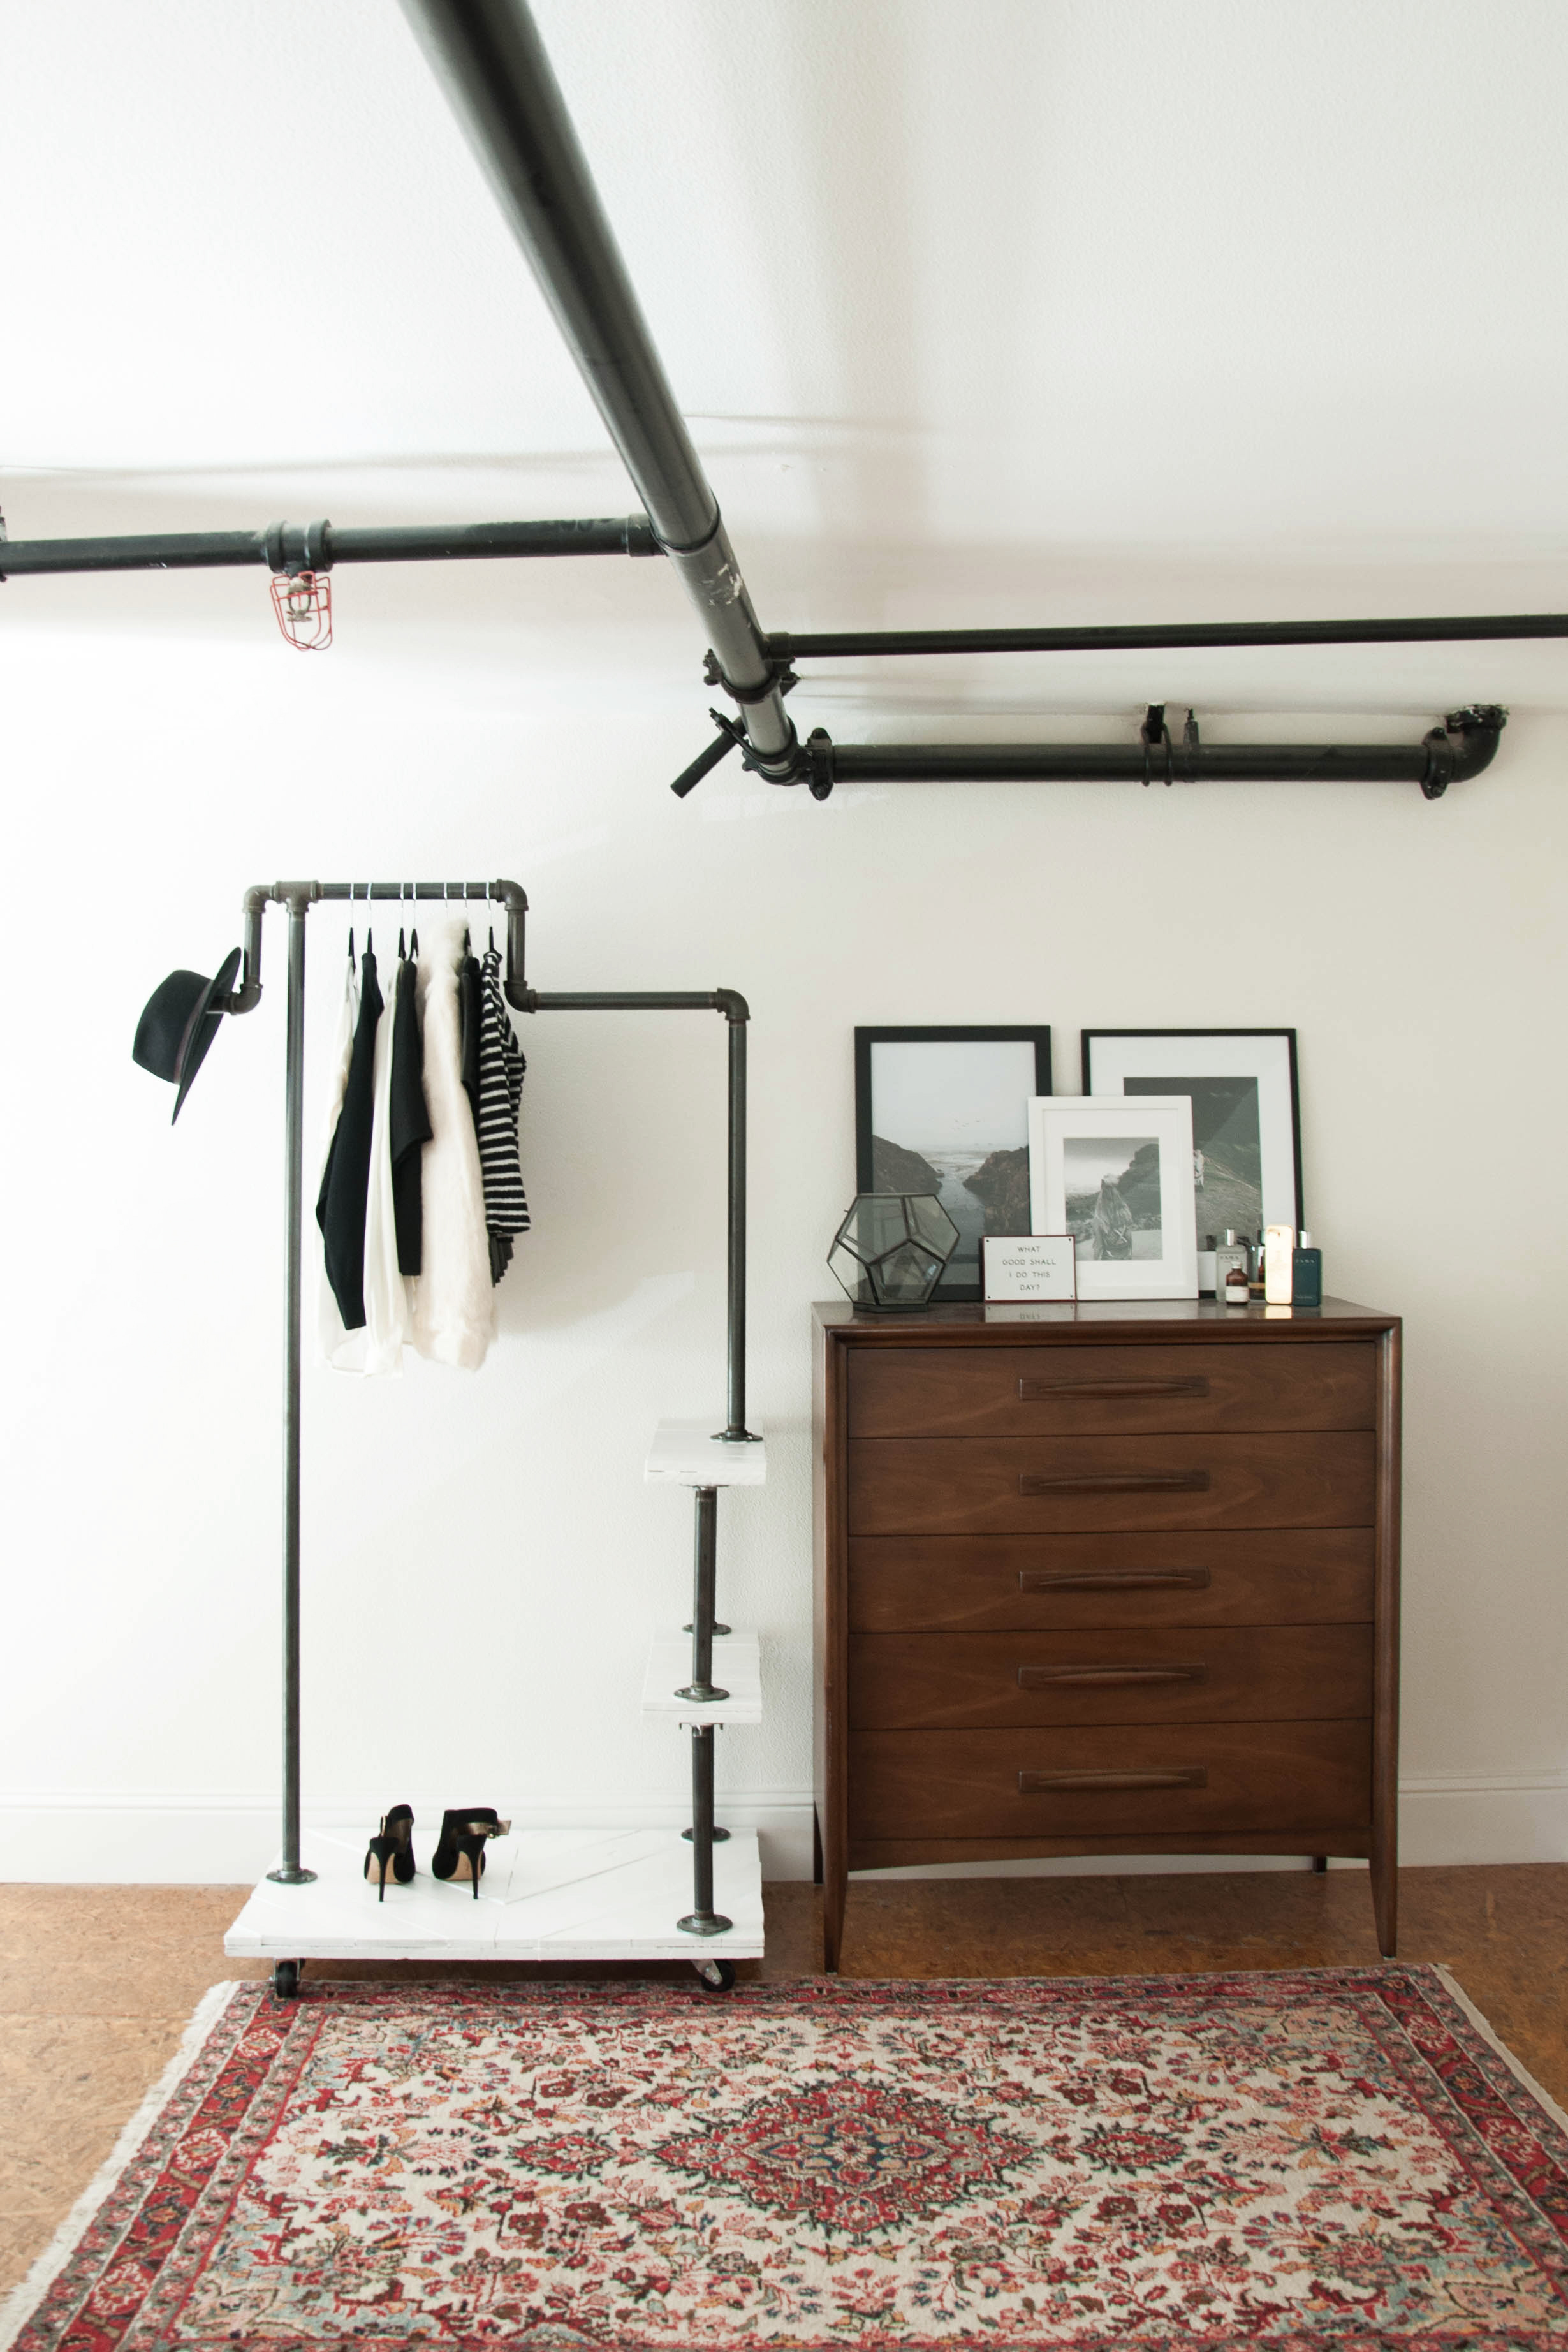
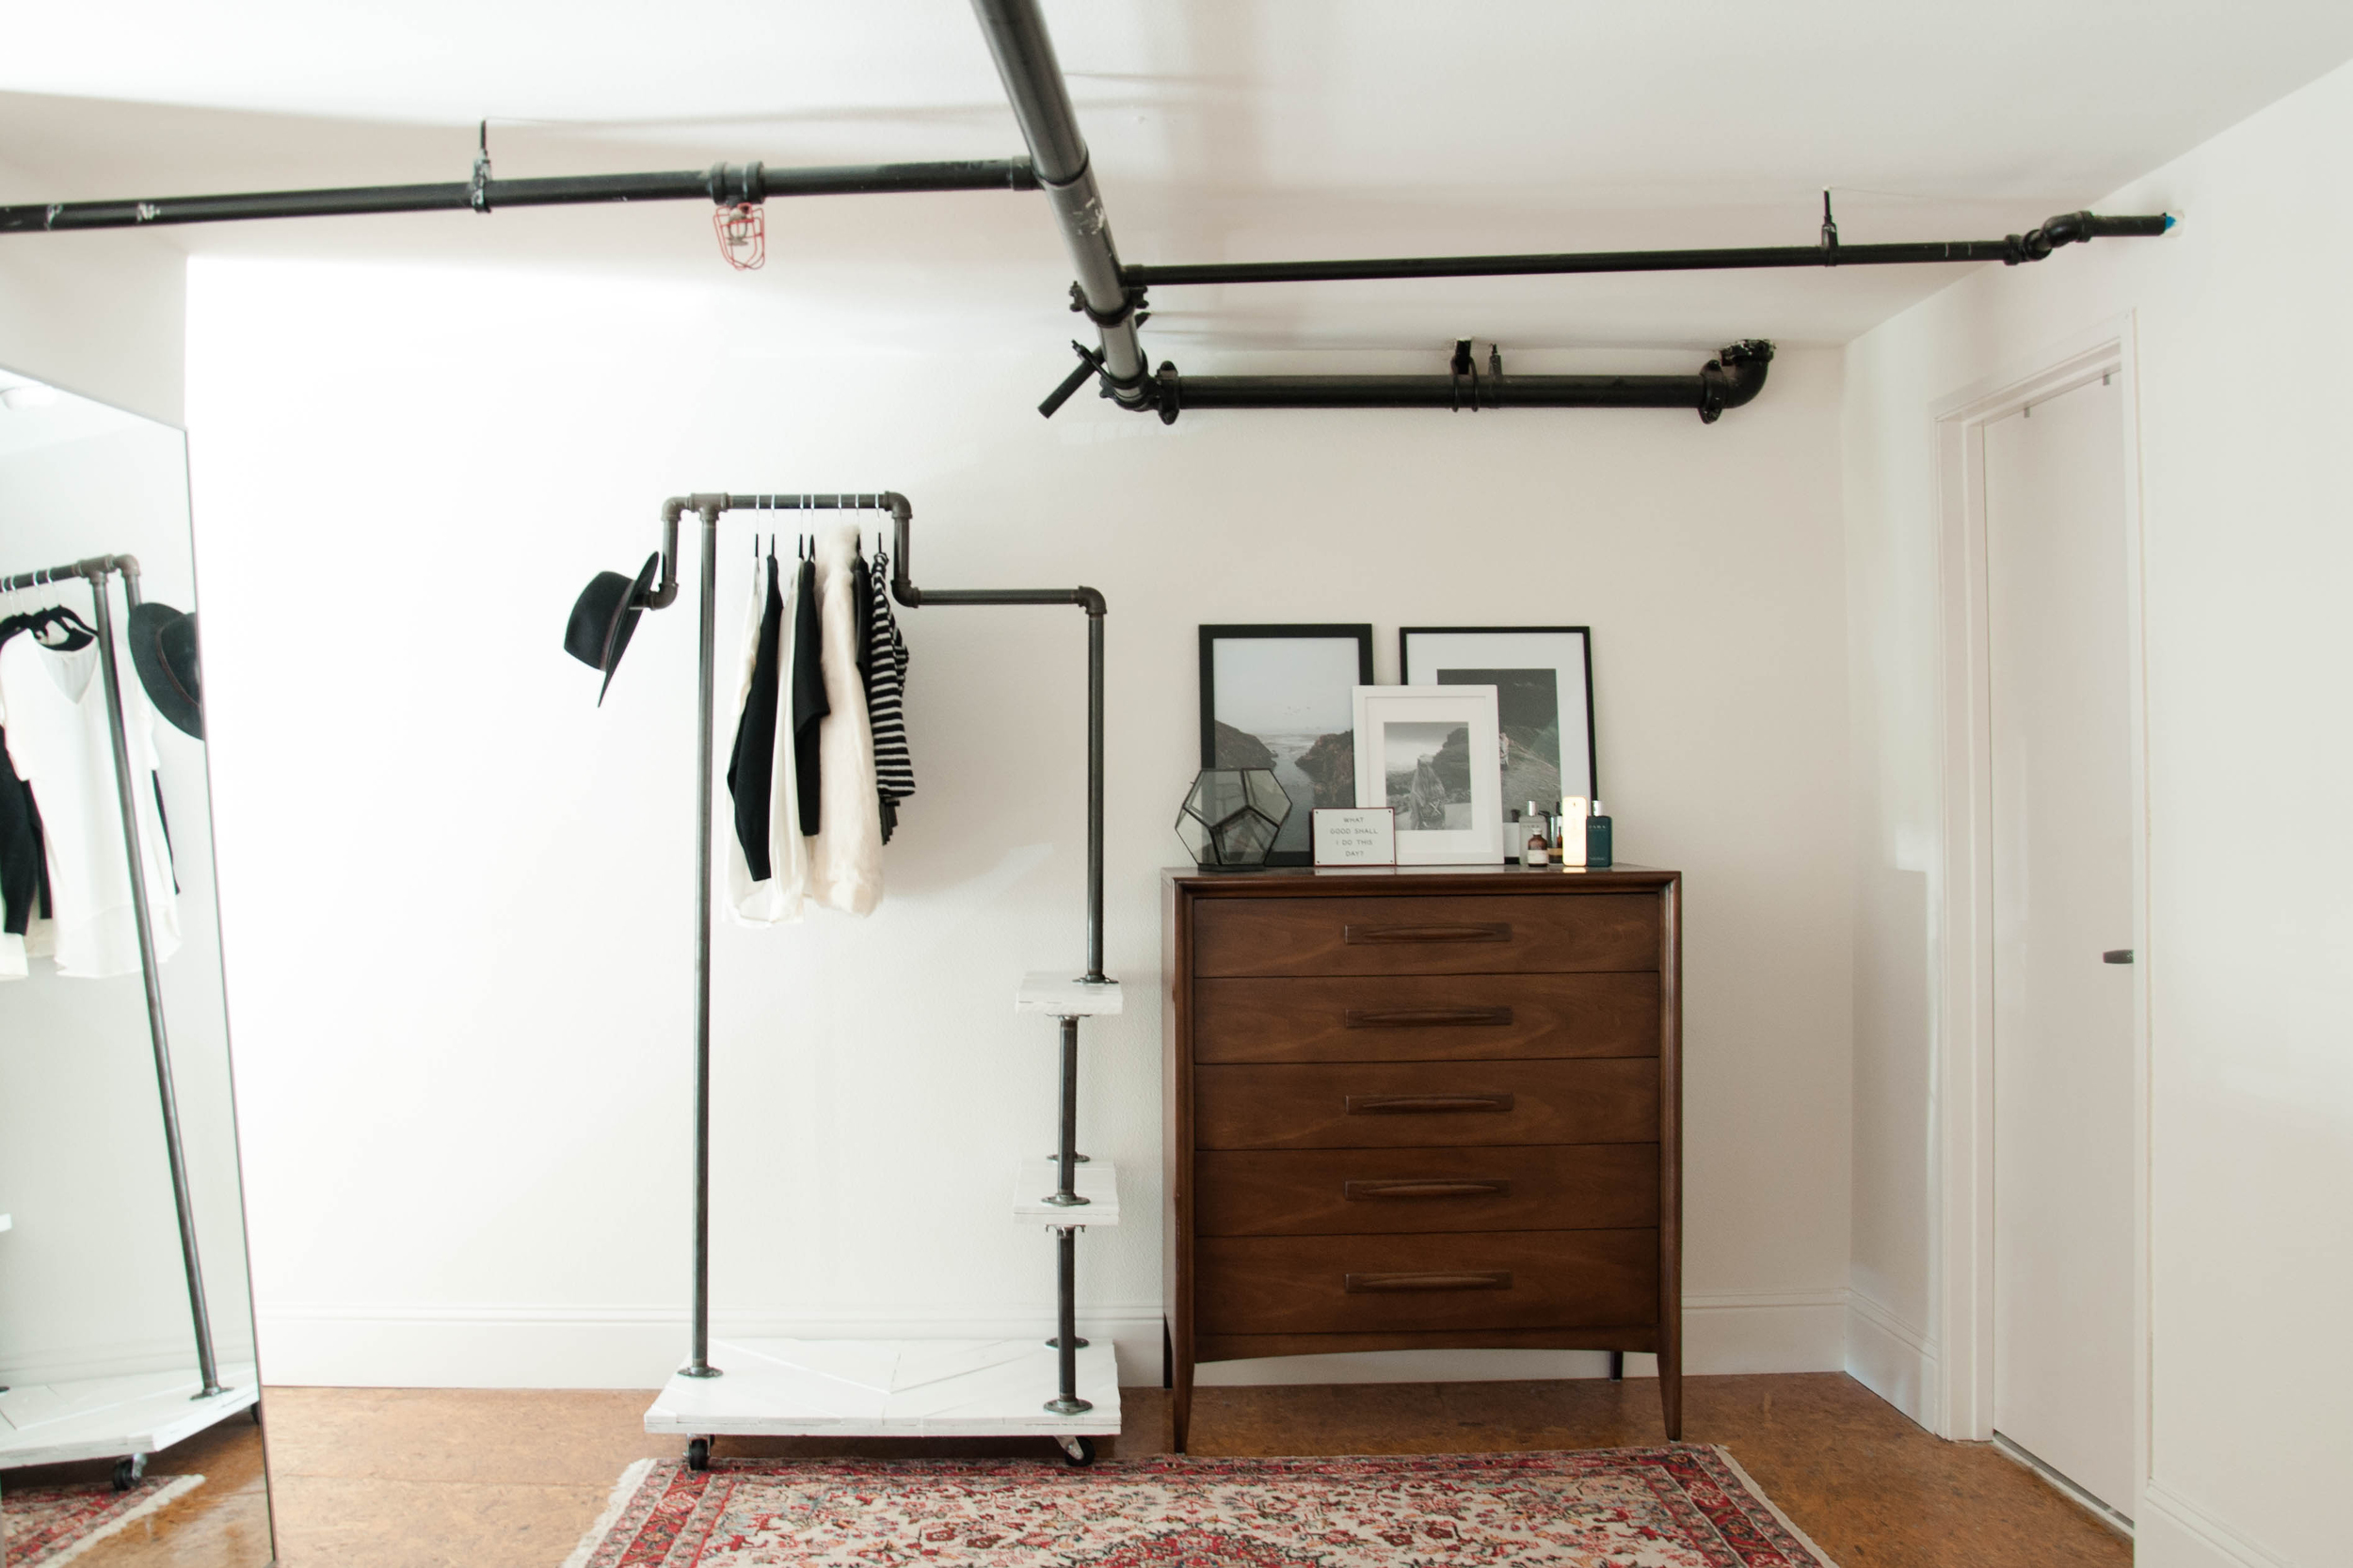
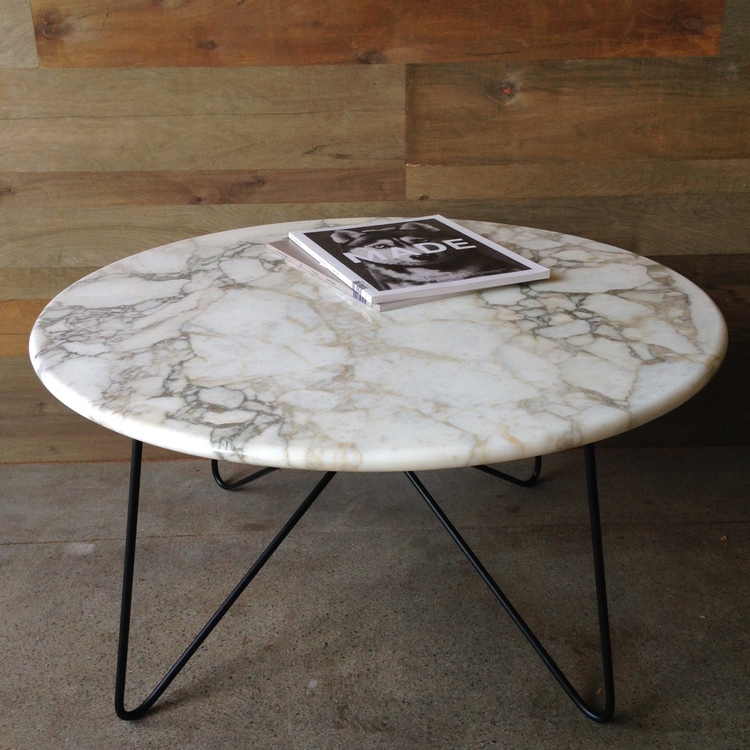
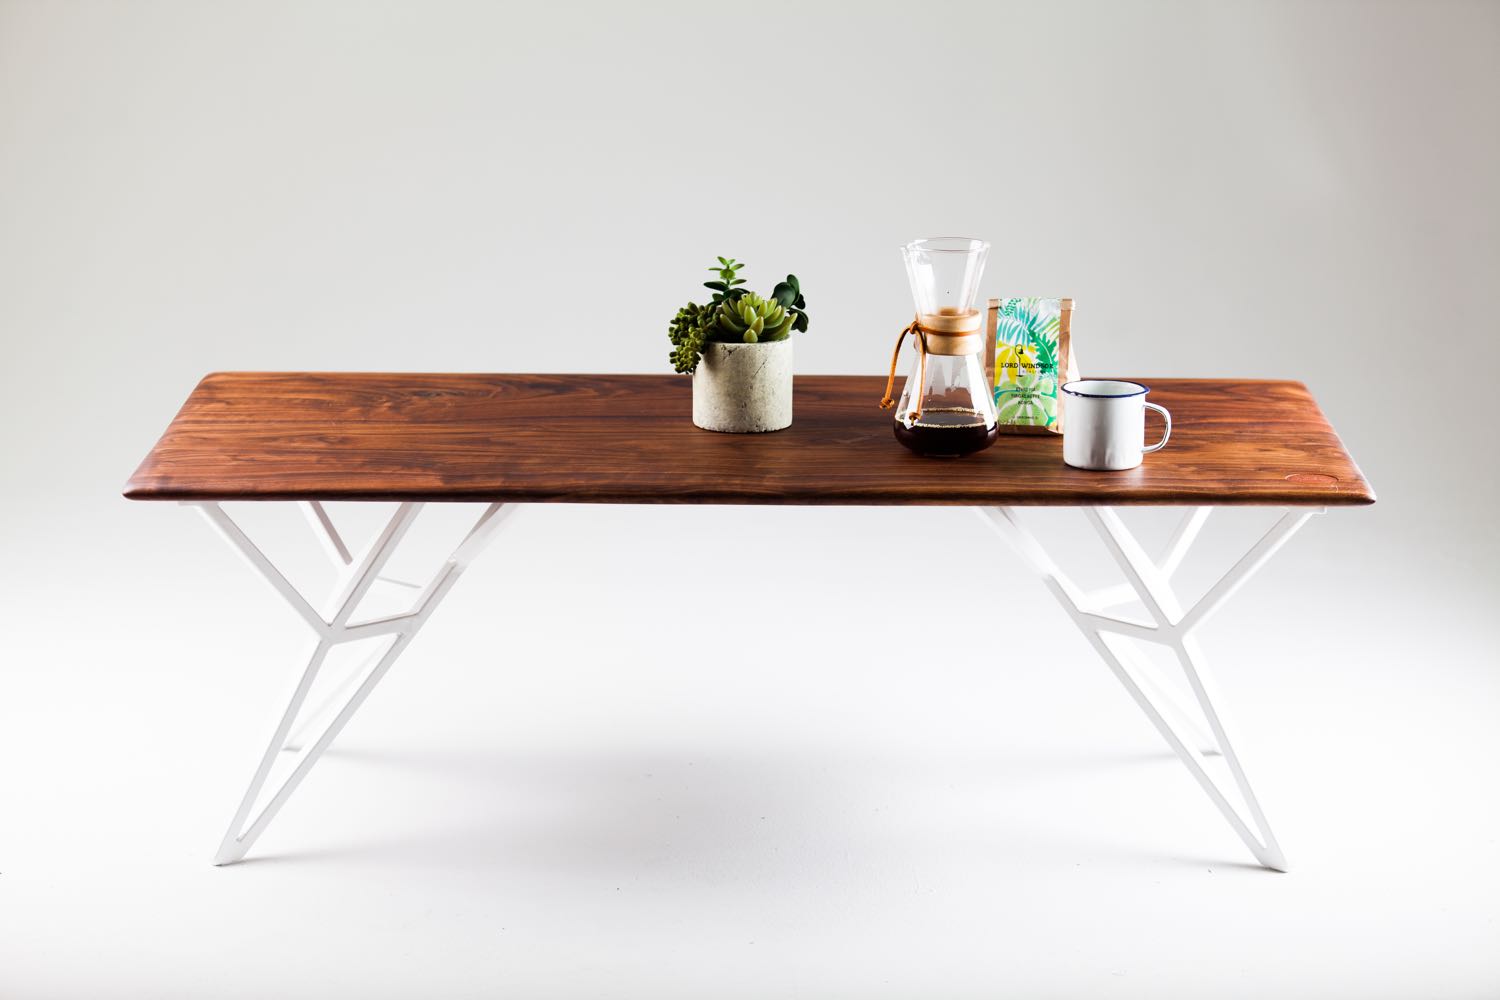
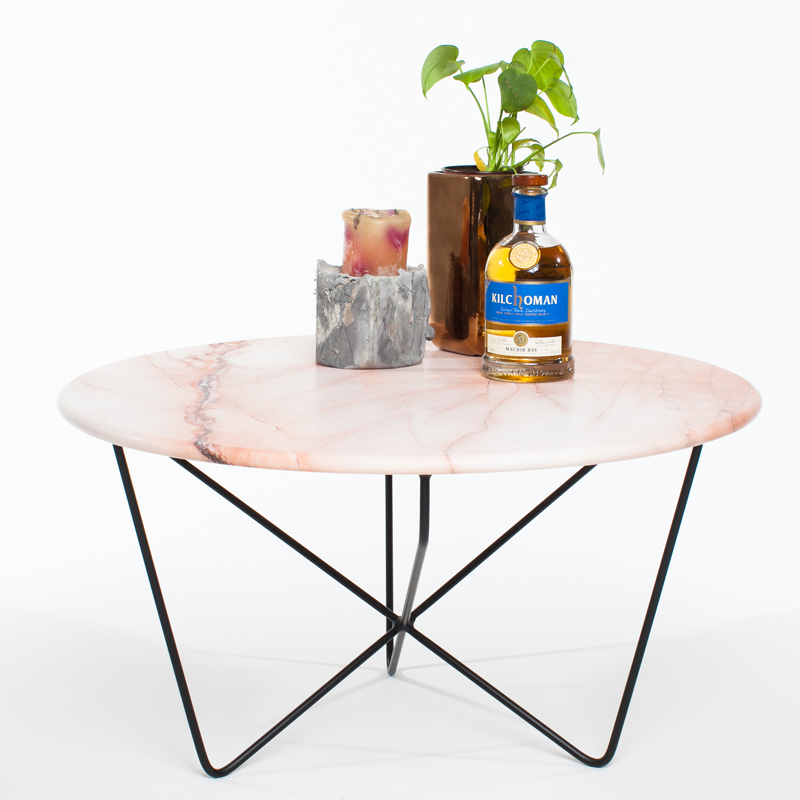
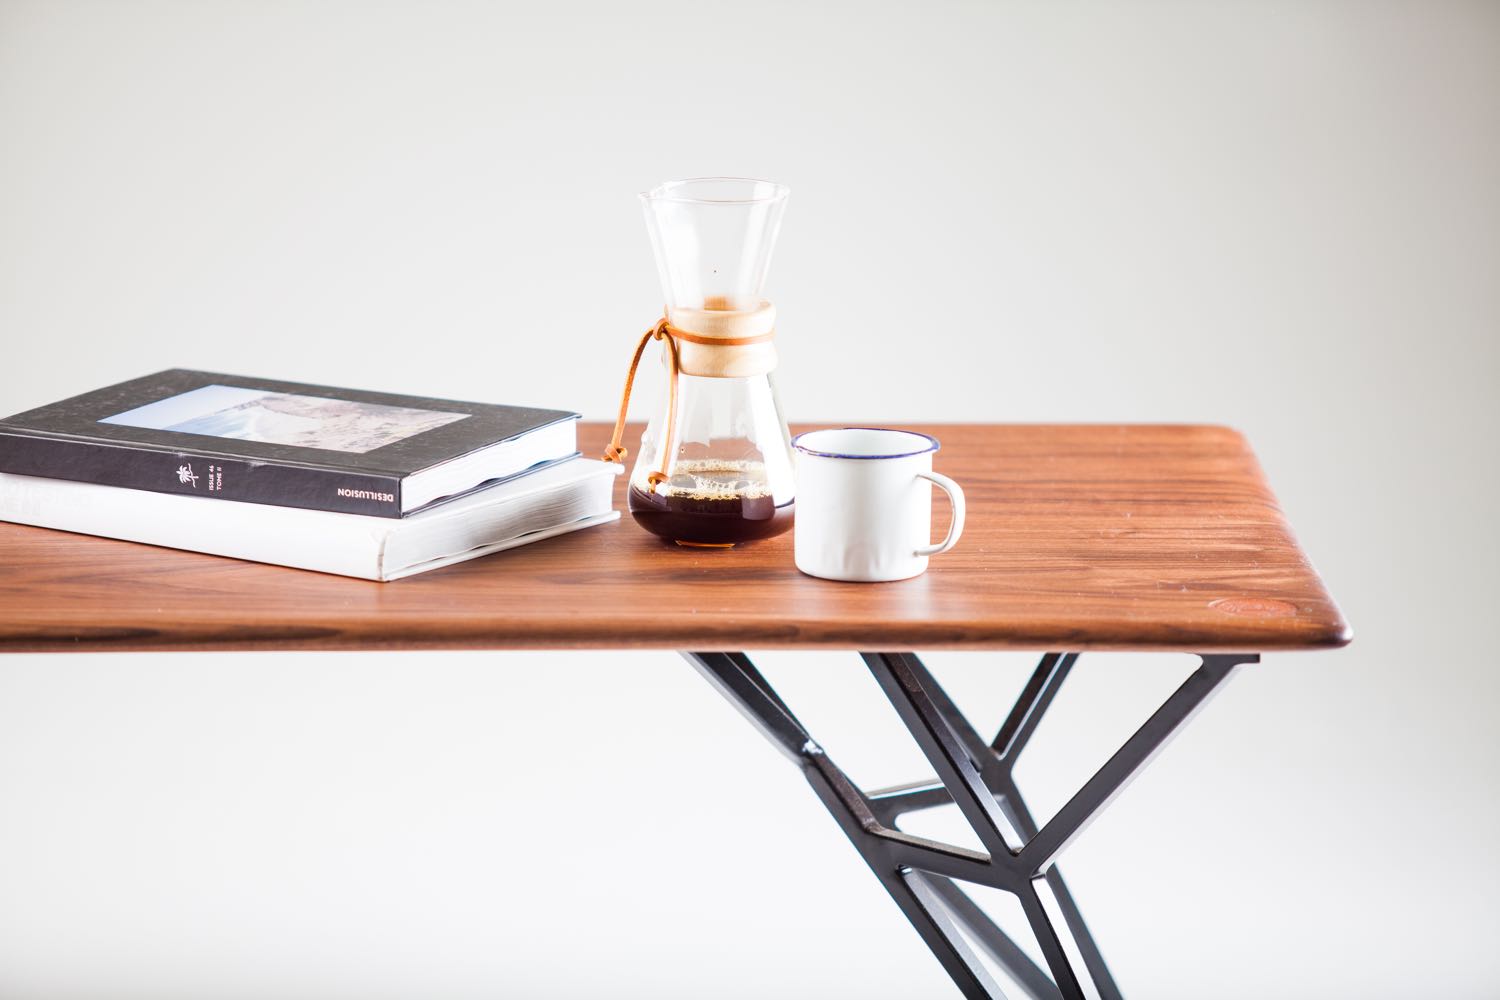
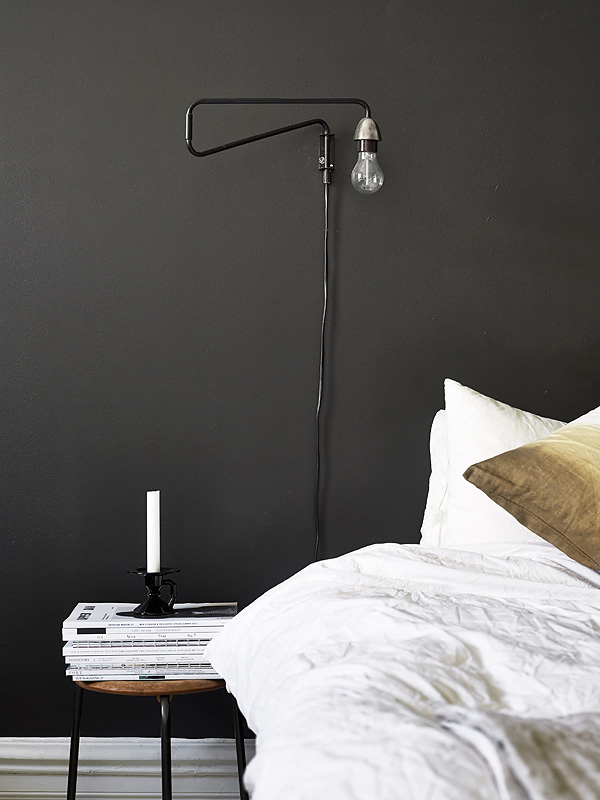
SouthHaus is a new online design shop selling the best artisanal art & decor from the 'new South.' I recently had the opportunity to try out a few of their products, and I must say that I'm impressed. Their offering is fresh and unique, and reflects the impeccable craftsmanship that has always been found in the South. I just love the balance of masculine & feminine represented in the shop, and aimed to bring both contrasting elements into the styling of our Master Bedroom fireplace. The Terra Cotta Urchin Vessels add edginess to my fresh holiday florals, and the blush Leather Pouf displays contrast between the strong material in a feminine but neutral color. I will definitely be carrying more elements from this shop throughout my design projects. Take a look!